
Introduction
In previous posts we covered how to detect refrigerant leaks and how to spot their warning signs. Now it’s time to talk about repairing those leaks — the techniques, considerations, and steps that follow detection. This blog completes the loop: from symptom → detection → repair and long-term prevention.
Why Repairs Must Be Done Carefully
- Mistakes can allow leaks to recur
- Incorrect recharging (too much or too little) yields system inefficiency
- Poor repairs can damage components like compressors
- Wasted time and money if the leak wasn’t fully sealed
A thorough, professional repair ensures lasting performance and helps you avoid recurring issues.
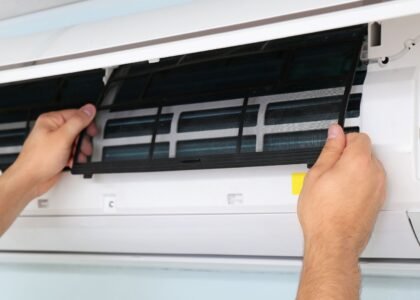
Common Repair Techniques
Here are the primary methods HVAC technicians use to fix refrigerant leaks:
1. Brazing & Soldering
- Often used for leaks in copper tubing
- The technician heats the area and applies a metal alloy to seal cracks or joints
- Produces a strong, durable seal that can handle high pressures
2. Component Replacement
- When a fitting, valve, coil, or other part is too damaged to repair
- Swap in a compatible new part
- Ensures you’re not patching over a failing element
3. Tightening or Replacing Flare Nut Fittings
- Loose flare nuts are a common source of leaks
- Technician inspects and tightens potentially leaking connections
- If seals are worn, they may install new flare fittings or gaskets
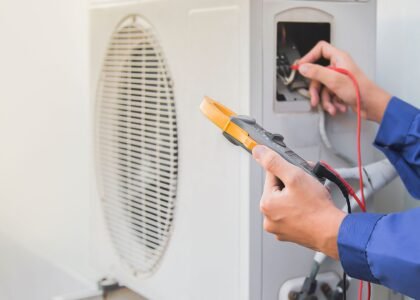
Repair Process Step by Step
- Isolate and clean the area — remove insulation, dirt, corrosion
- Perform the repair — e.g. braze, replace part, re-seal connection
- Vacuum & evacuation — pull a vacuum to remove air, moisture, contaminants
- Pressure and leak check — retest with nitrogen or use electronic detection
- Recharge the correct refrigerant amount — precise matching to manufacturer specs
- System startup & observation — run the system, monitor pressures, temperatures, and ensure proper cooling
These steps help ensure the repair holds and the system resumes normal, efficient operation.
Tips to Maximize Repair Success & Longevity
- Opt for high-quality replacement parts
- Insulate and protect lines after repair
- Follow manufacturer guidelines for torque and sealing
- Check matching pressure and superheat/subcooling after recharge
- Schedule periodic maintenance to prevent future leaks
When to Seek Professional Help
Repairing refrigerant leaks is not a DIY weekend project:
- Refrigerant lines are delicate, high-pressure
- Improper brazing or sealing can worsen the leak
- Faulty recharging can damage compressors
- You likely lack the testing tools for verification
If you’ve already had detection performed, move to repair with a trusted HVAC provider specializing in Refrigerant Leak Detection and Repair — for example, learn more about our service model here: Expert Refrigerant Leak Detection and Repair in Cathedral City CA. When you’re ready to schedule, simply reach out via our Contact Us page: Contact Us.